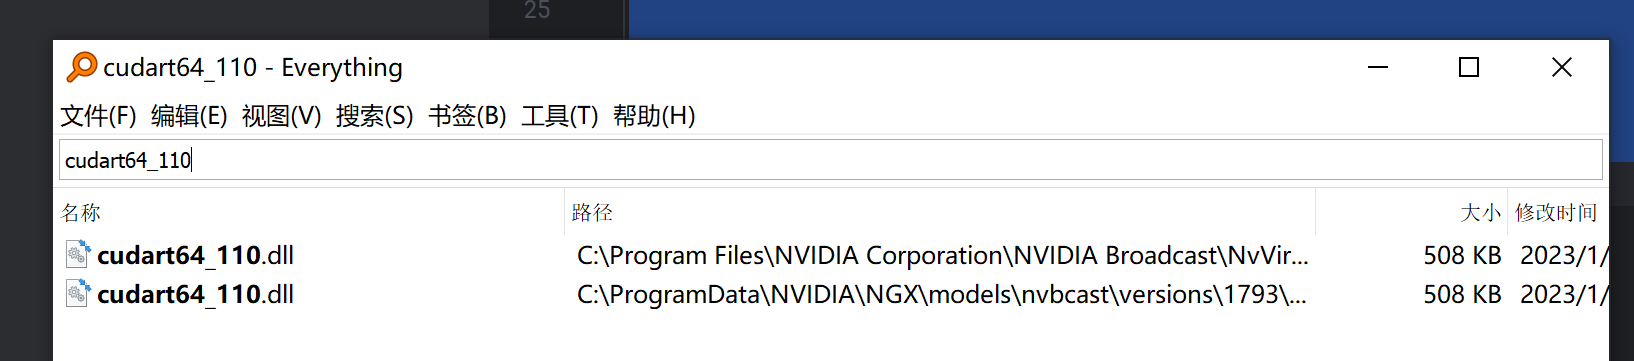
"D:\Program Files\Python39\python.exe" E:\PycharmProjects\Python-Learing\src\DiscriminateNumber.py
2024-04-28 15:15:58.803235: W tensorflow/stream_executor/platform/default/dso_loader.cc:64] Could not load dynamic library 'cudart64_110.dll'; dlerror: cudart64_110.dll not found
2024-04-28 15:15:58.803414: I tensorflow/stream_executor/cuda/cudart_stub.cc:29] Ignore above cudart dlerror if you do not have a GPU set up on your machine.
Traceback (most recent call last):
  File "E:\PycharmProjects\Python-Learing\src\DiscriminateNumber.py", line 1, in <module>
    import tensorflow as tf
  File "D:\Program Files\Python39\lib\site-packages\tensorflow\__init__.py", line 41, in <module>
    from tensorflow.python.tools import module_util as _module_util
  File "D:\Program Files\Python39\lib\site-packages\tensorflow\python\__init__.py", line 41, in <module>
    from tensorflow.python.eager import context
  File "D:\Program Files\Python39\lib\site-packages\tensorflow\python\eager\context.py", line 33, in <module>
    from tensorflow.core.framework import function_pb2
  File "D:\Program Files\Python39\lib\site-packages\tensorflow\core\framework\function_pb2.py", line 16, in <module>
    from tensorflow.core.framework import attr_value_pb2 as tensorflow_dot_core_dot_framework_dot_attr__value__pb2
  File "D:\Program Files\Python39\lib\site-packages\tensorflow\core\framework\attr_value_pb2.py", line 16, in <module>
    from tensorflow.core.framework import tensor_pb2 as tensorflow_dot_core_dot_framework_dot_tensor__pb2
  File "D:\Program Files\Python39\lib\site-packages\tensorflow\core\framework\tensor_pb2.py", line 16, in <module>
    from tensorflow.core.framework import resource_handle_pb2 as tensorflow_dot_core_dot_framework_dot_resource__handle__pb2
  File "D:\Program Files\Python39\lib\site-packages\tensorflow\core\framework\resource_handle_pb2.py", line 16, in <module>
    from tensorflow.core.framework import tensor_shape_pb2 as tensorflow_dot_core_dot_framework_dot_tensor__shape__pb2
  File "D:\Program Files\Python39\lib\site-packages\tensorflow\core\framework\tensor_shape_pb2.py", line 36, in <module>
    _descriptor.FieldDescriptor(
  File "D:\Program Files\Python39\lib\site-packages\google\protobuf\descriptor.py", line 621, in __new__
    _message.Message._CheckCalledFromGeneratedFile()
TypeError: Descriptors cannot be created directly.
If this call came from a _pb2.py file, your generated code is out of date and must be regenerated with protoc >= 3.19.0.
If you cannot immediately regenerate your protos, some other possible workarounds are:
 1. Downgrade the protobuf package to 3.20.x or lower.
 2. Set PROTOCOL_BUFFERS_PYTHON_IMPLEMENTATION=python (but this will use pure-Python parsing and will be much slower).

More information: https://developers.google.com/protocol-buffers/docs/news/2022-05-06#python-updates

Process finished with exit code 1
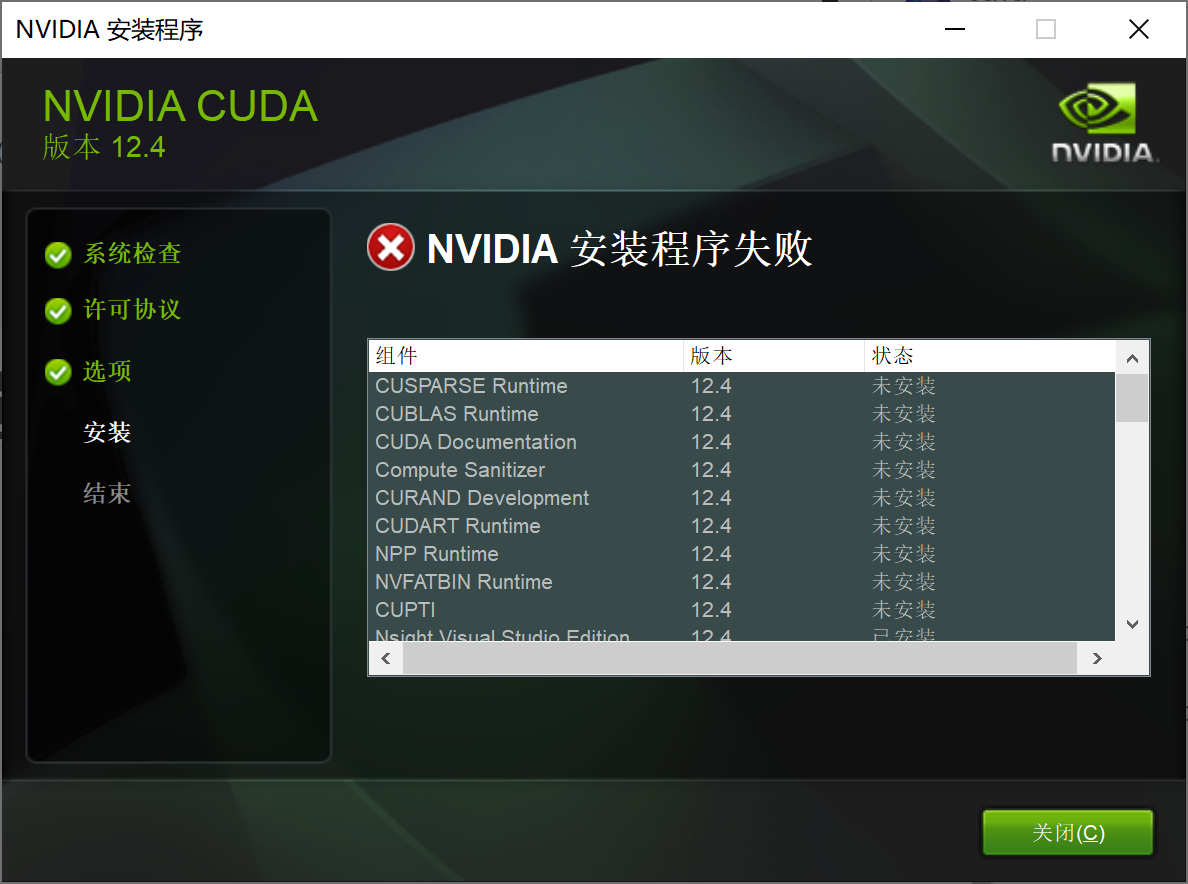
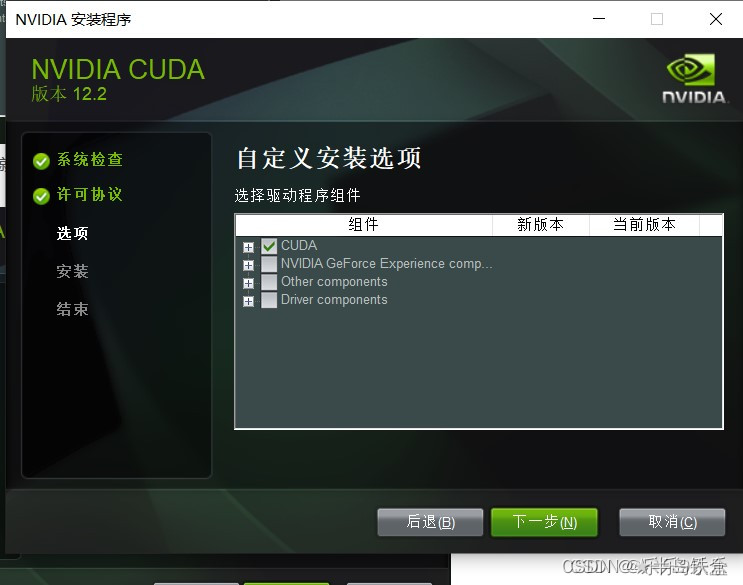
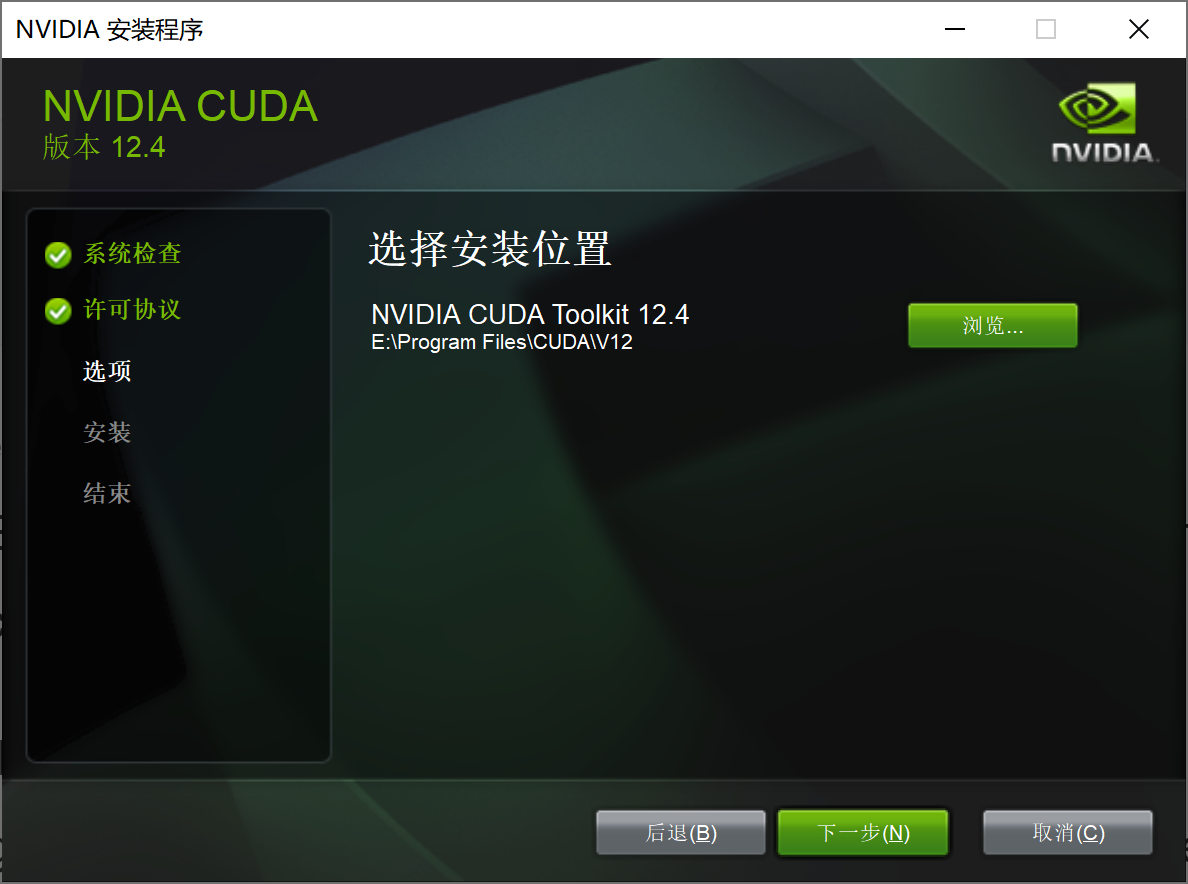
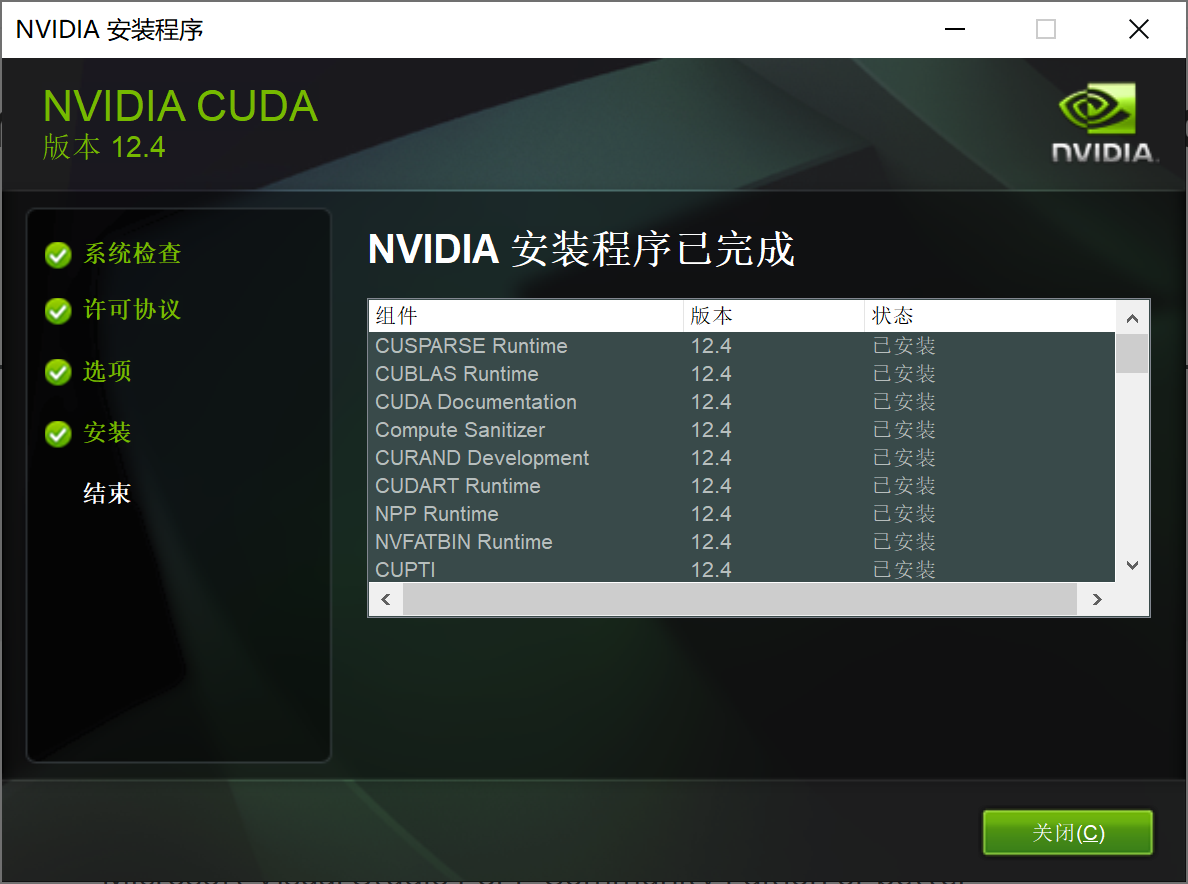
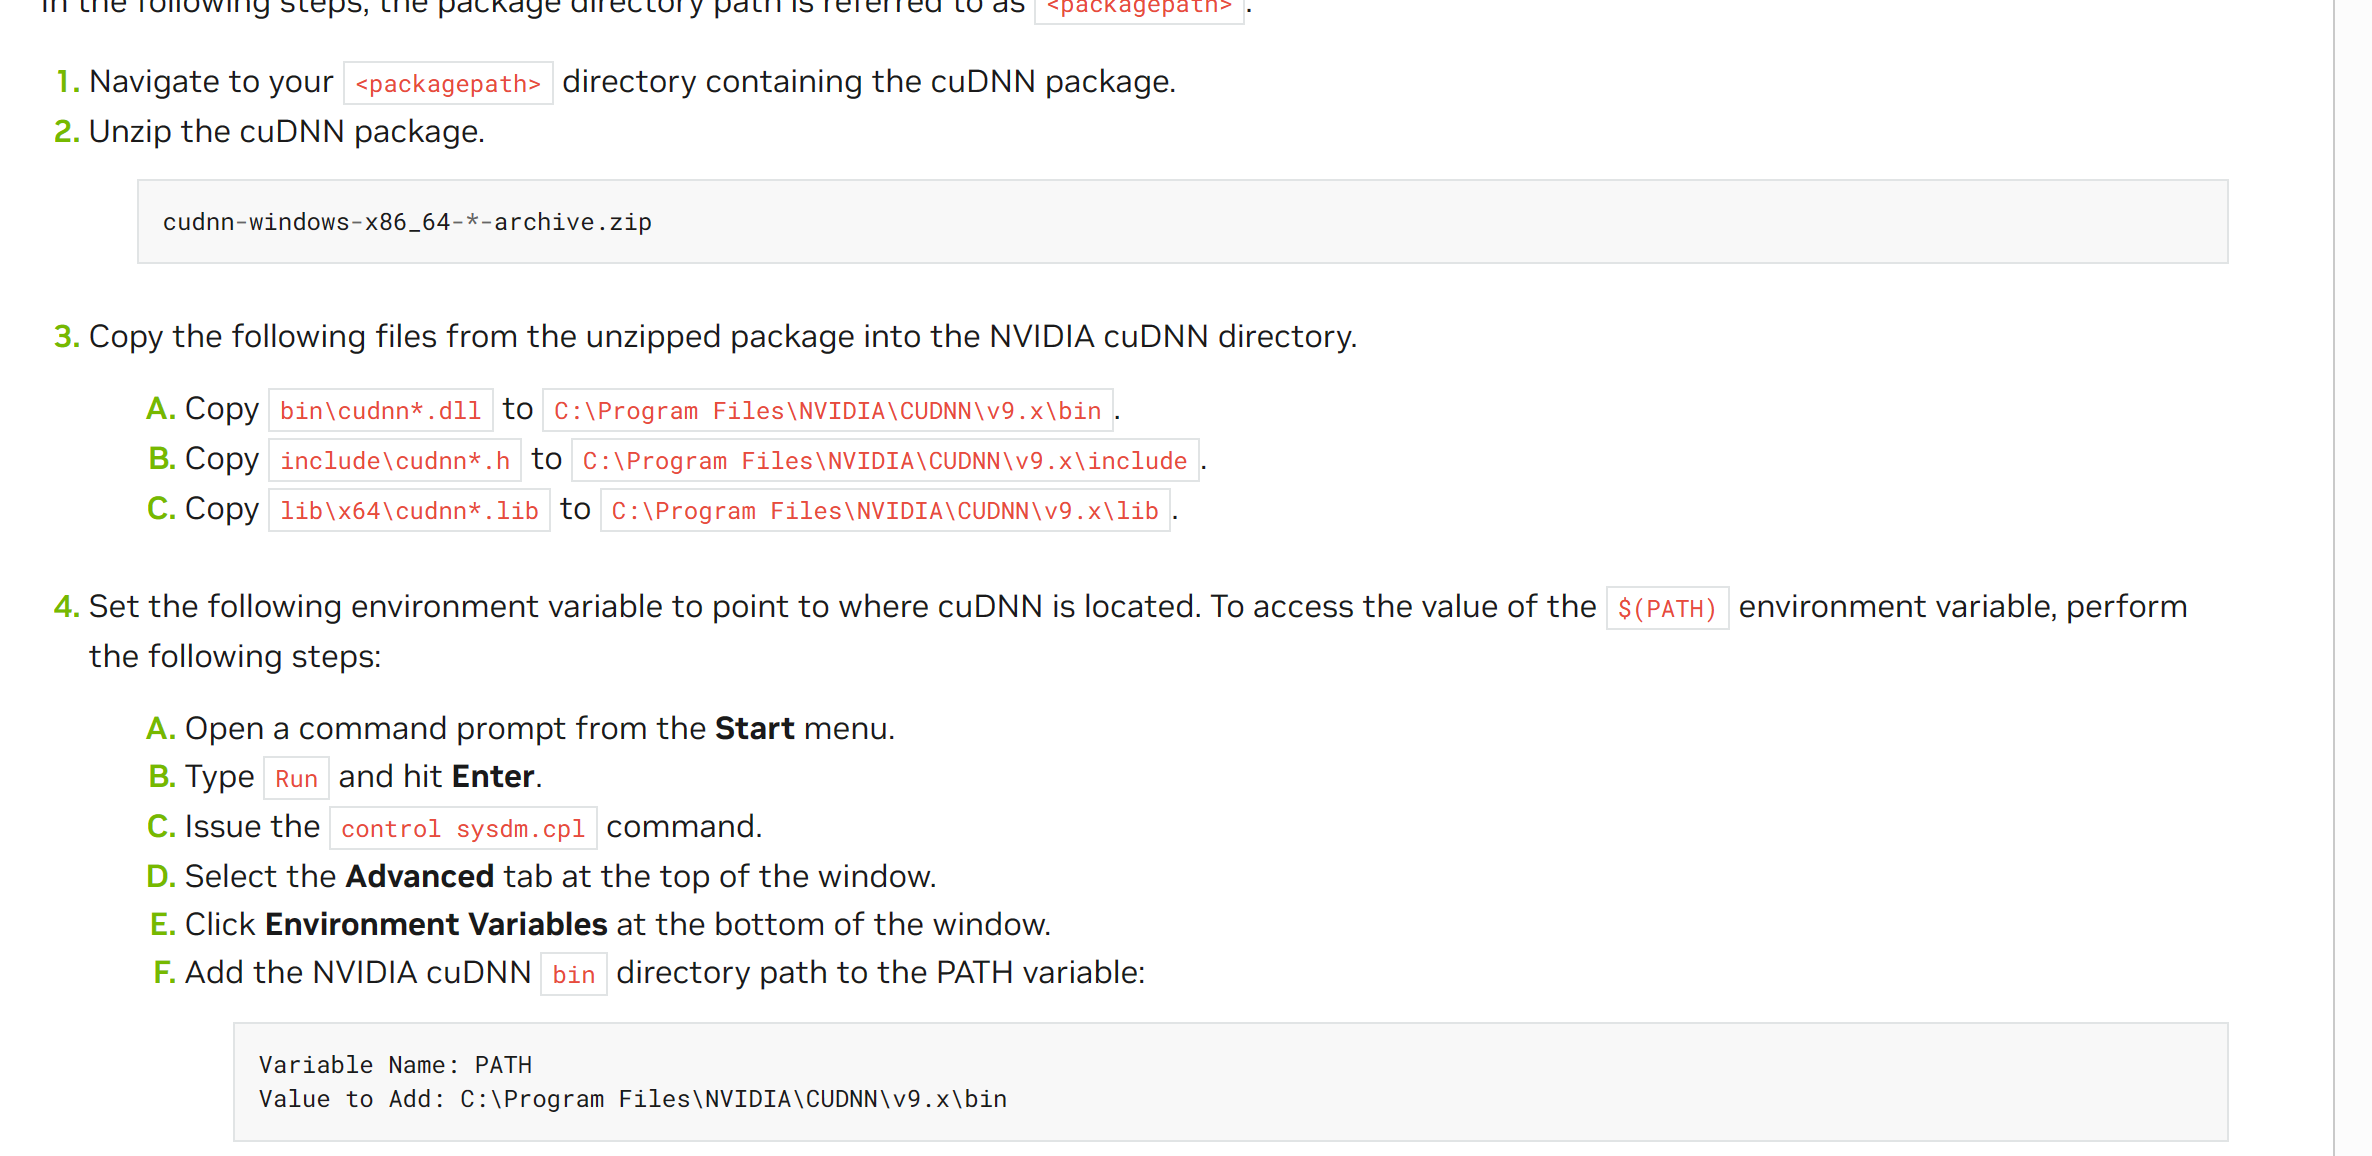
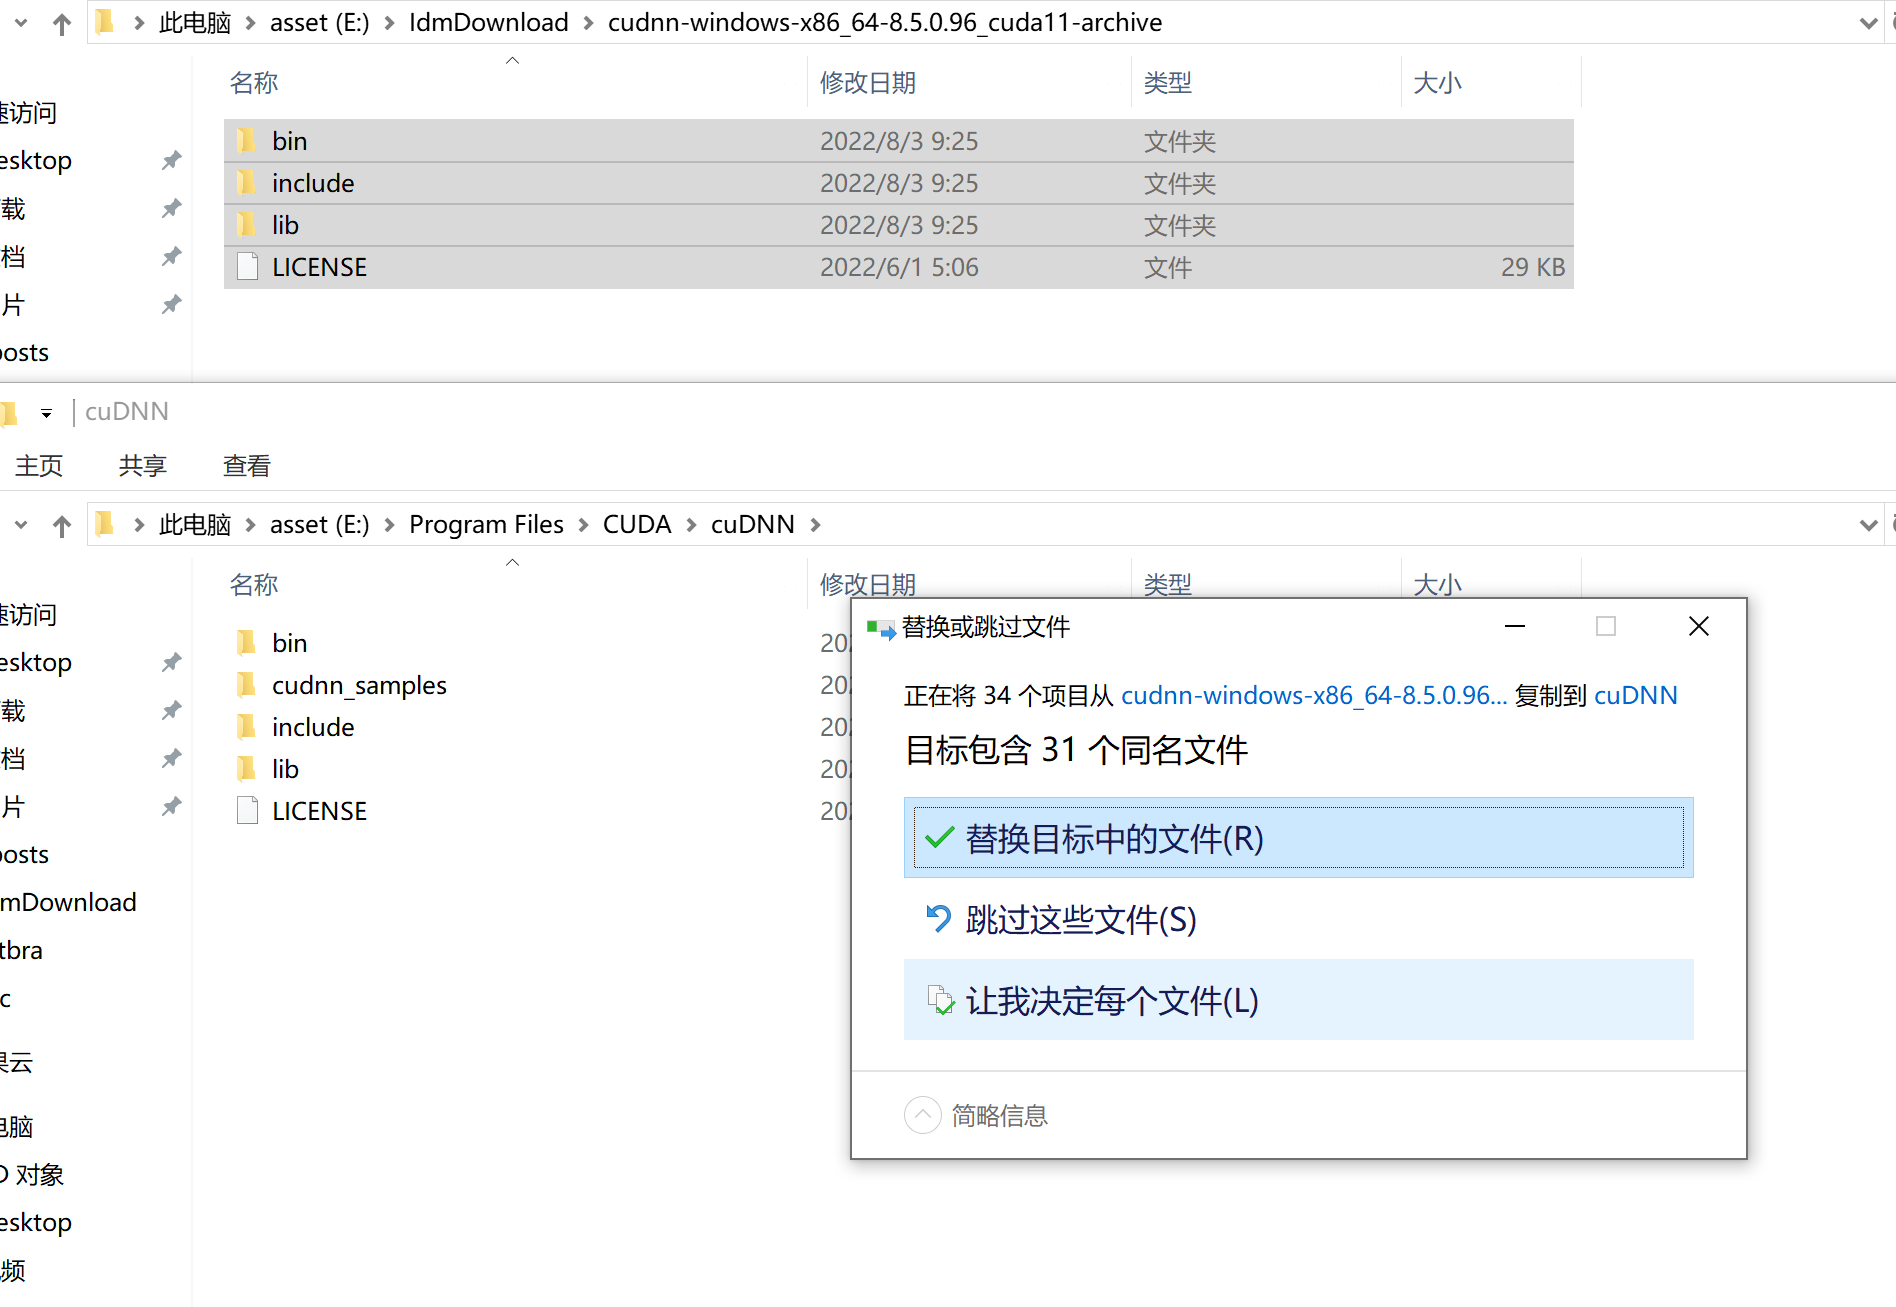
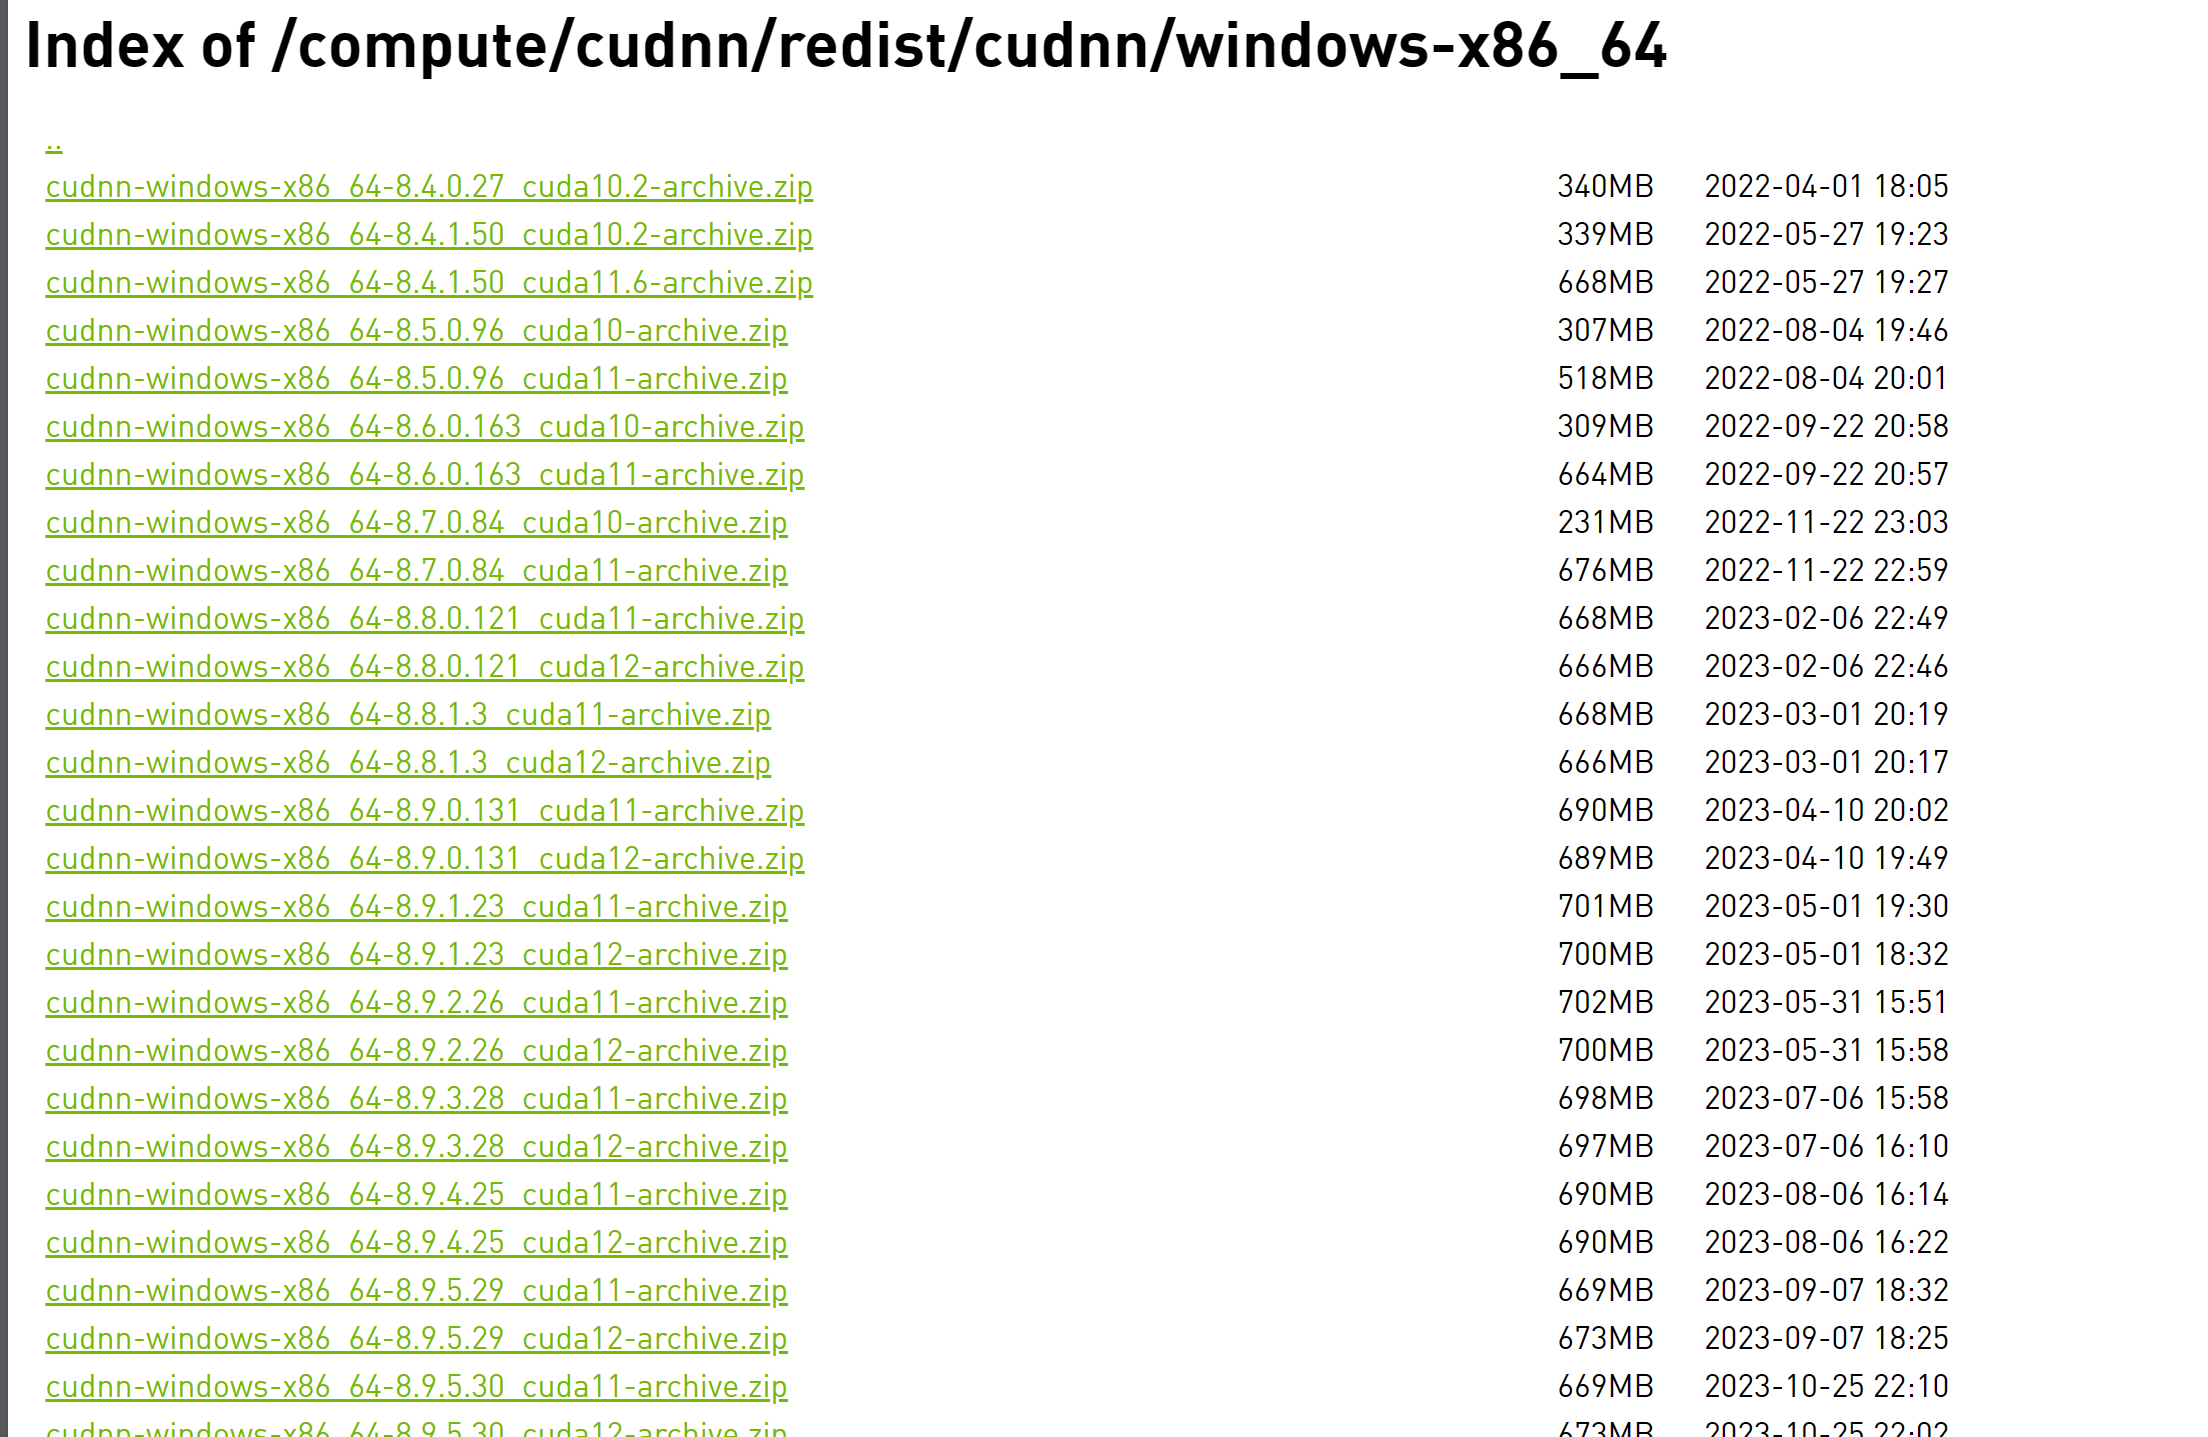
你可以在 NVIDIA 的官方网站上找到 CUDA Toolkit 的安装包和相关文档。以下是一些步骤,以便你能够在 NVIDIA 网站上找到适合你系统的 CUDA 安装包:
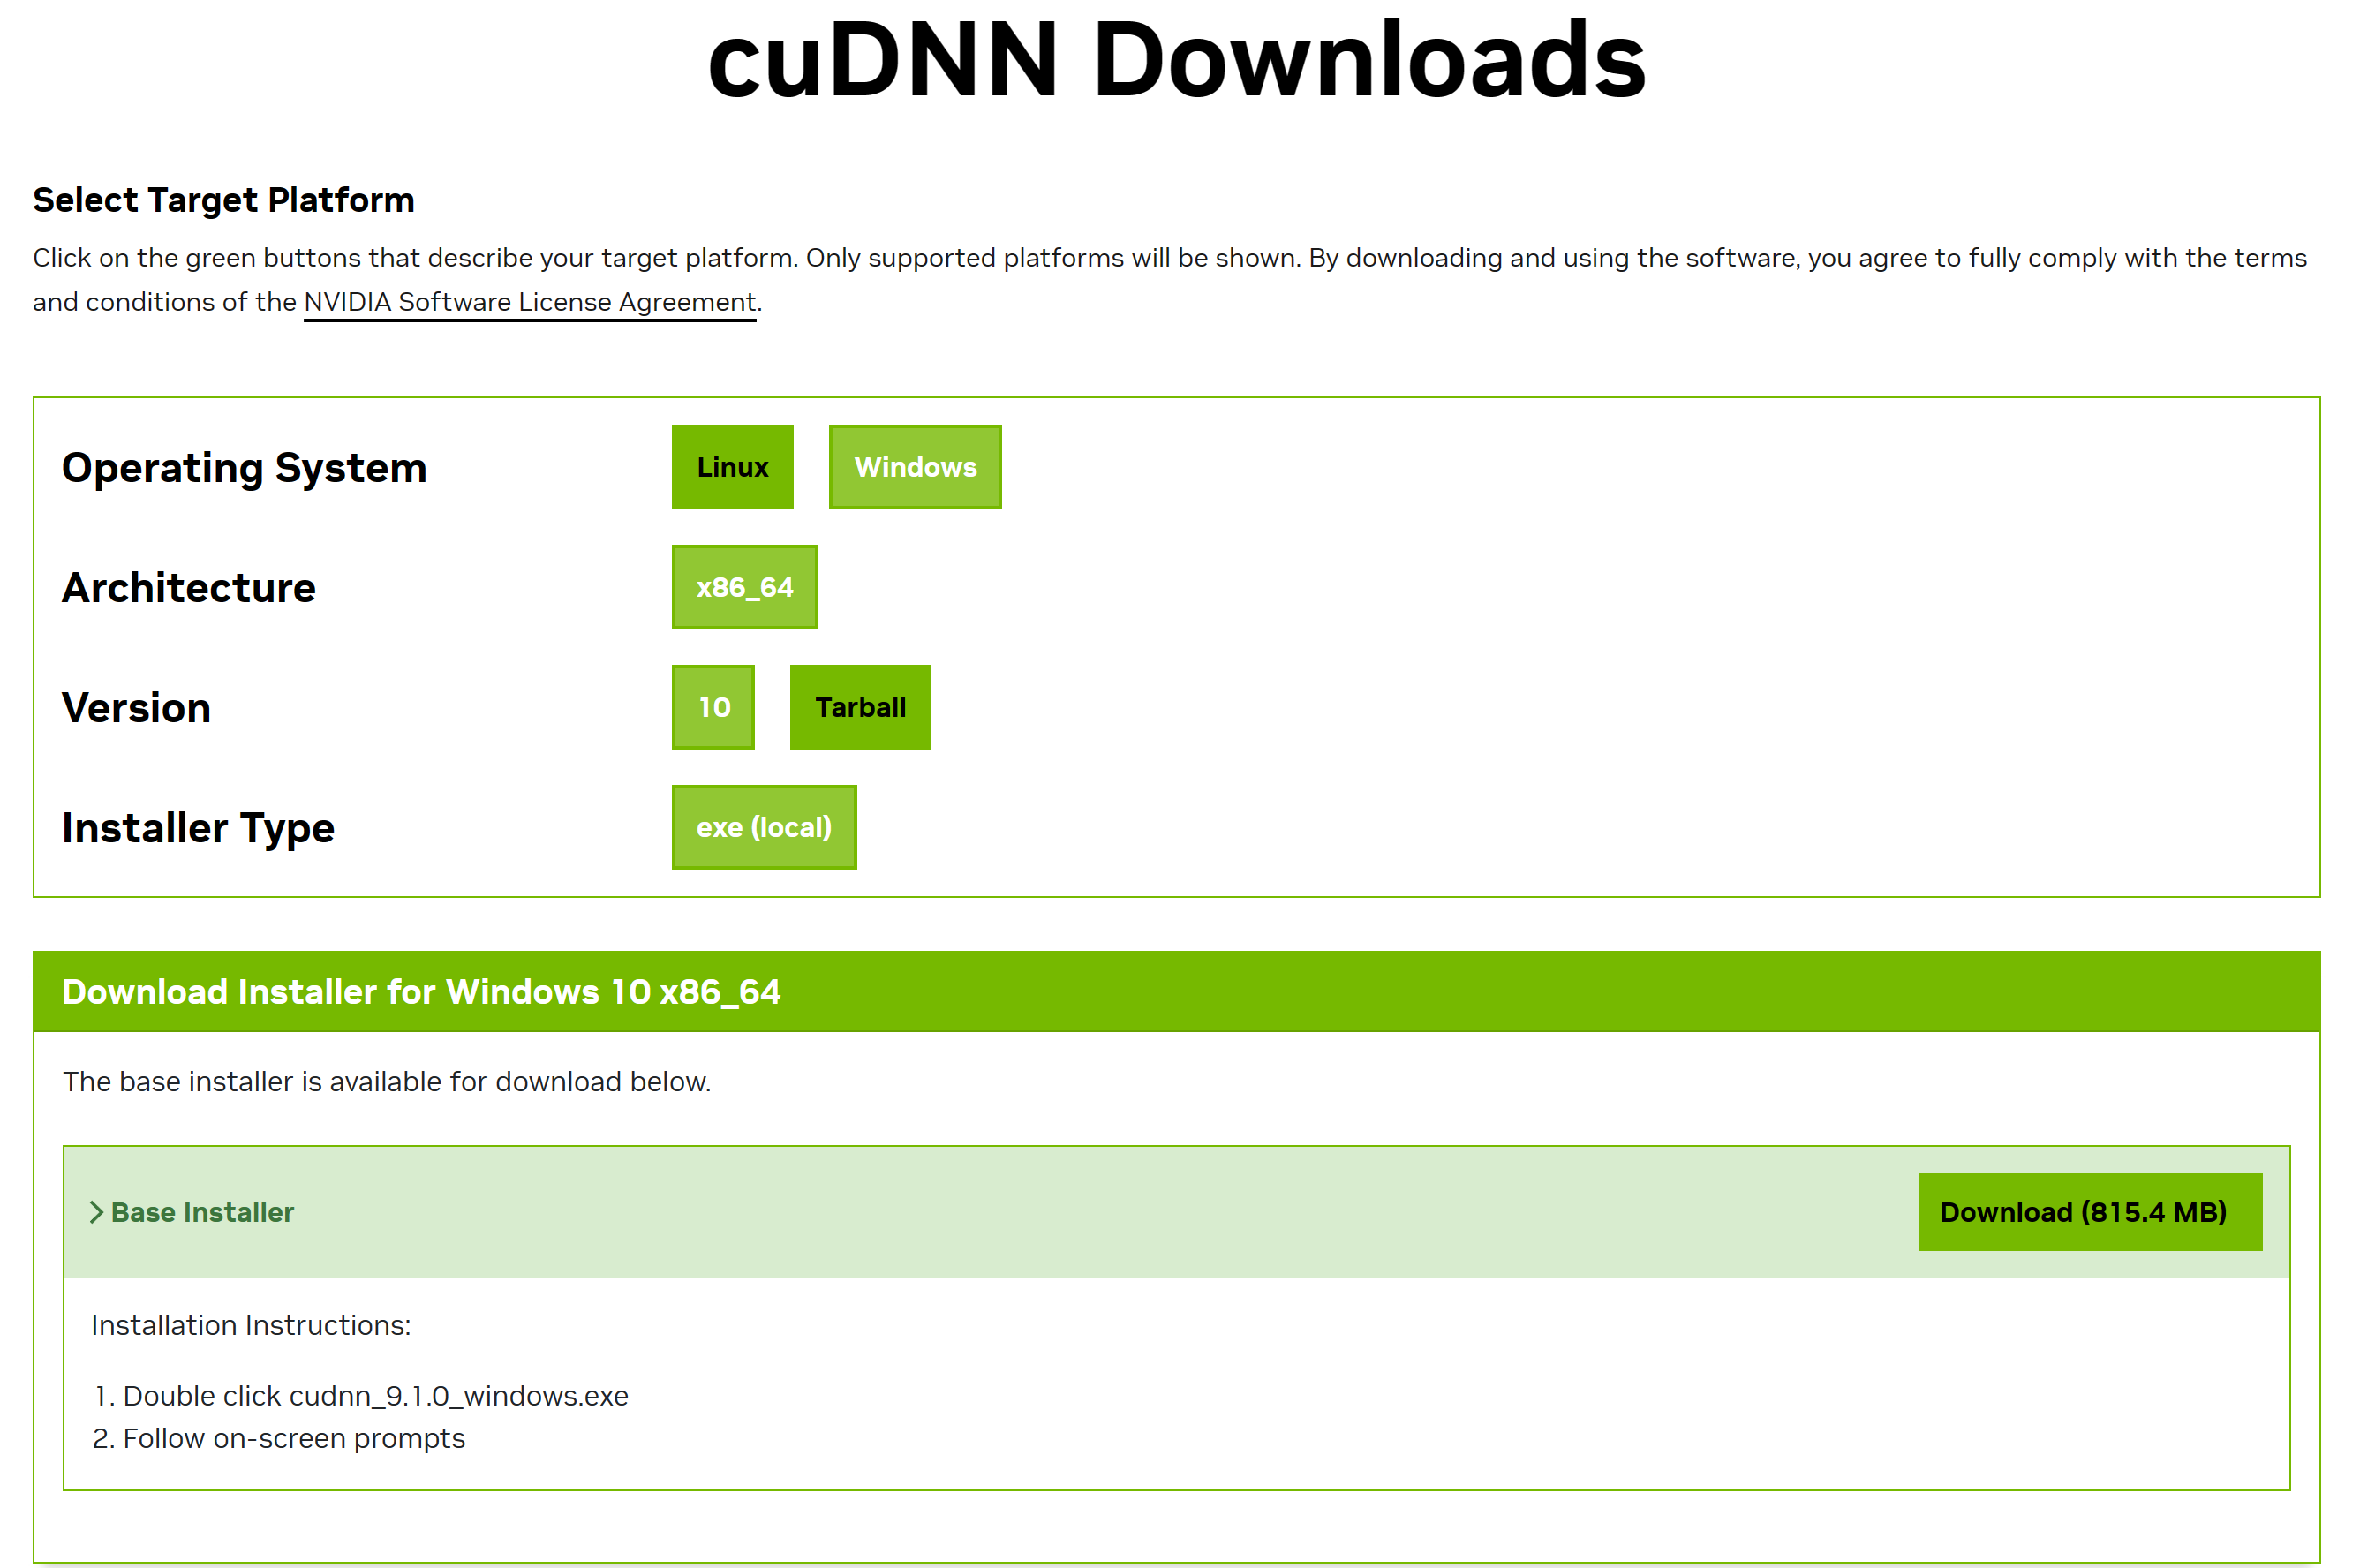
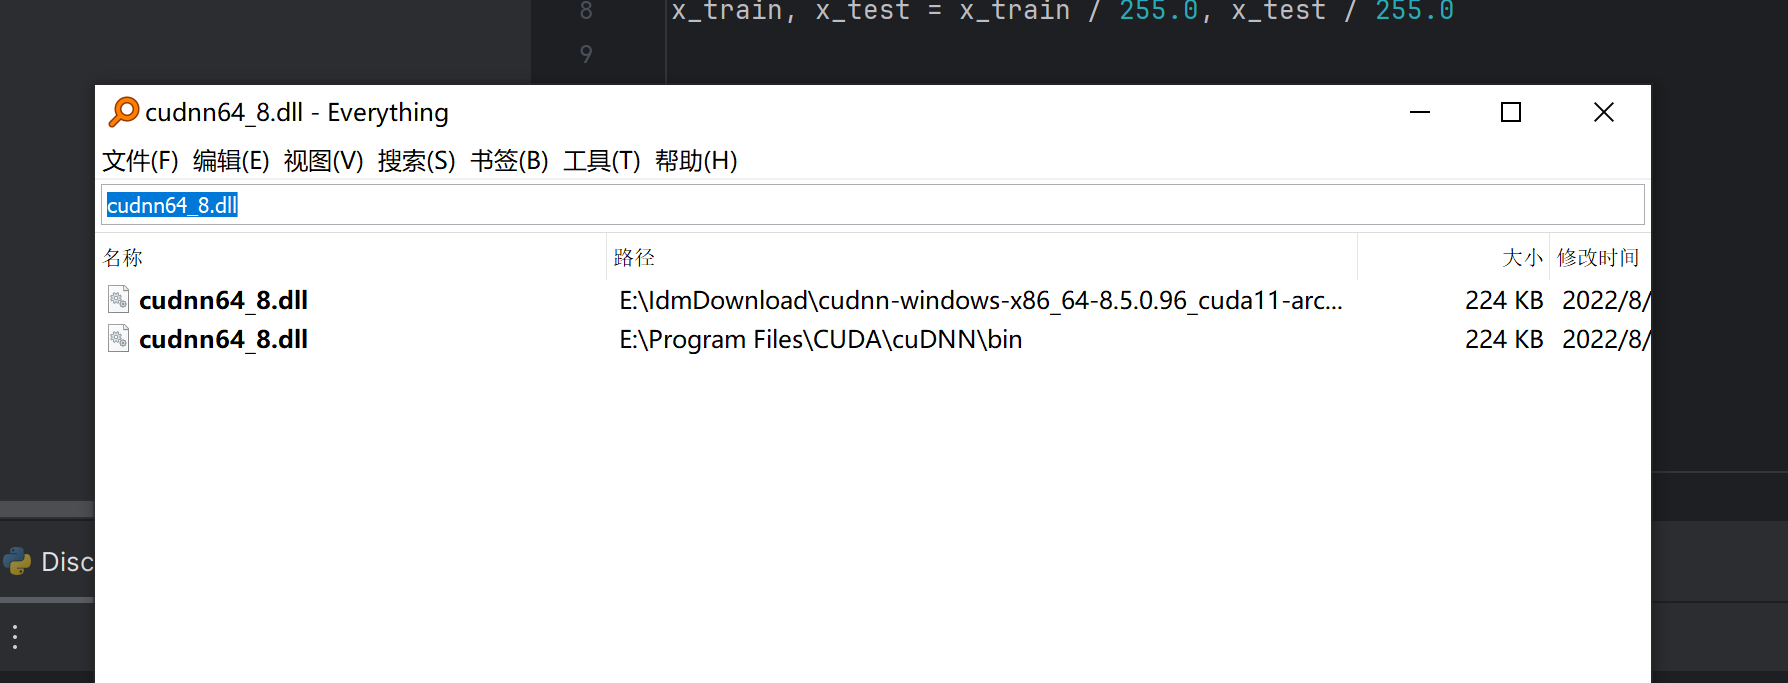
"D:\Program Files\Python39\python.exe" E:\PycharmProjects\Python-Learing\src\DiscriminateNumber.py 2024-04-2909:18:43.679530: W tensorflow/stream_executor/platform/default/dso_loader.cc:64] Could not load dynamic library 'cudnn64_8.dll'; dlerror: cudnn64_8.dll not found 2024-04-2909:18:43.679746: W tensorflow/core/common_runtime/gpu/gpu_device.cc:1850] Cannot dlopen some GPU libraries. Please make sure the missing libraries mentioned above are installed properly if you would like to use GPU. Follow the guide at https://www.tensorflow.org/install/gpu for how to download and setup the required libraries for your platform. Skipping registering GPU devices... 2024-04-2909:18:43.680698: I tensorflow/core/platform/cpu_feature_guard.cc:151] This TensorFlow binary is optimized with oneAPI Deep Neural Network Library (oneDNN) to use the following CPU instructions in performance-critical operations: AVX AVX2 To enable them in other operations, rebuild TensorFlow with the appropriate compiler flags. Epoch 1/5 1875/1875 [==============================] -3s 2ms/step-loss:0.2950-accuracy:0.9139 Epoch 2/5 1875/1875 [==============================] -3s 2ms/step-loss:0.1440-accuracy:0.9578 Epoch 3/5 1875/1875 [==============================] -3s 2ms/step-loss:0.1072-accuracy:0.9677 Epoch 4/5 1875/1875 [==============================] -2s 910us/step-loss:0.0871-accuracy:0.9734 Epoch 5/5 1875/1875 [==============================] -1s 742us/step-loss:0.0765-accuracy:0.9762 313/313 [==============================] -0s 781us/step-loss:0.0723-accuracy:0.9795 Test Loss:0.07231290638446808 Test Accuracy:0.9794999957084656
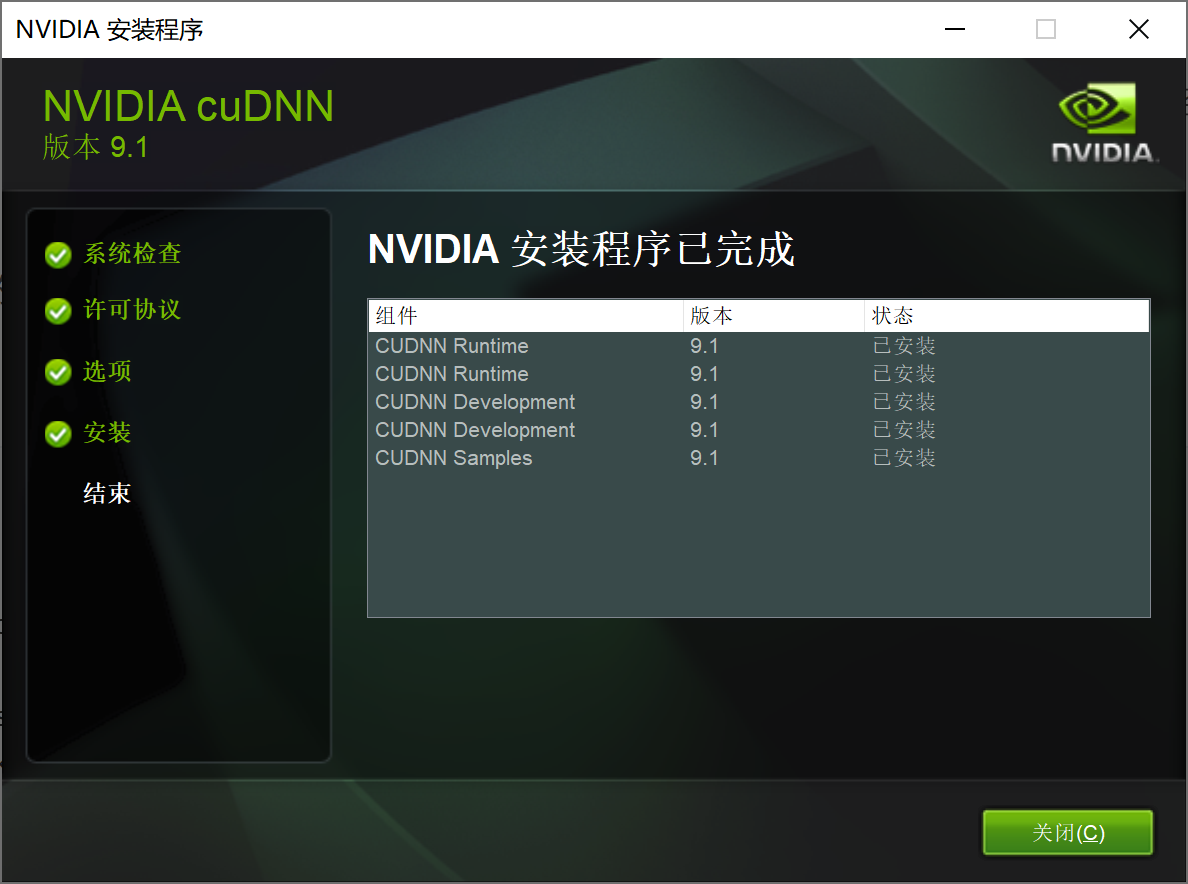
"D:\Program Files\Python39\python.exe" E:\PycharmProjects\Python-Learing\src\DiscriminateNumber.py 2024-04-2909:28:31.471368: I tensorflow/core/platform/cpu_feature_guard.cc:151] This TensorFlow binary is optimized with oneAPI Deep Neural Network Library (oneDNN) to use the following CPU instructions in performance-critical operations: AVX AVX2 To enable them in other operations, rebuild TensorFlow with the appropriate compiler flags. 2024-04-2909:28:31.848419: I tensorflow/core/common_runtime/gpu/gpu_device.cc:1525] Created device /job:localhost/replica:0/task:0/device:GPU:0with5480 MB memory:->device:0, name: NVIDIA GeForce RTX 3060 Ti, pci bus id:0000:01:00.0, compute capability:8.6 Epoch 1/5 2024-04-2909:28:33.321392: I tensorflow/stream_executor/cuda/cuda_blas.cc:1774] TensorFloat-32 will be used for the matrix multiplication. This will only be logged once. 1875/1875 [==============================] -4s 1ms/step-loss:0.2982-accuracy:0.9136 Epoch 2/5 1875/1875 [==============================] -2s 1ms/step-loss:0.1459-accuracy:0.9565 Epoch 3/5 1875/1875 [==============================] -3s 2ms/step-loss:0.1081-accuracy:0.9668 Epoch 4/5 1875/1875 [==============================] -3s 1ms/step-loss:0.0886-accuracy:0.9728 Epoch 5/5 1875/1875 [==============================] -3s 1ms/step-loss:0.0745-accuracy:0.9764 313/313 [==============================] -0s 1ms/step-loss:0.0735-accuracy:0.9779 Test Loss:0.07349233329296112 Test Accuracy:0.9779000282287598
defforward(self, x): x = nn.functional.relu(self.conv1(x)) x = nn.functional.max_pool2d(x, kernel_size=2) x = nn.functional.relu(self.conv2(x)) x = nn.functional.max_pool2d(x, kernel_size=2) x = x.view(-1, 64 * 5 * 5) x = nn.functional.relu(self.fc1(x)) x = self.fc2(x) return x